

Suadero
A great dish to make if you have a lot of beef tallow on hand.

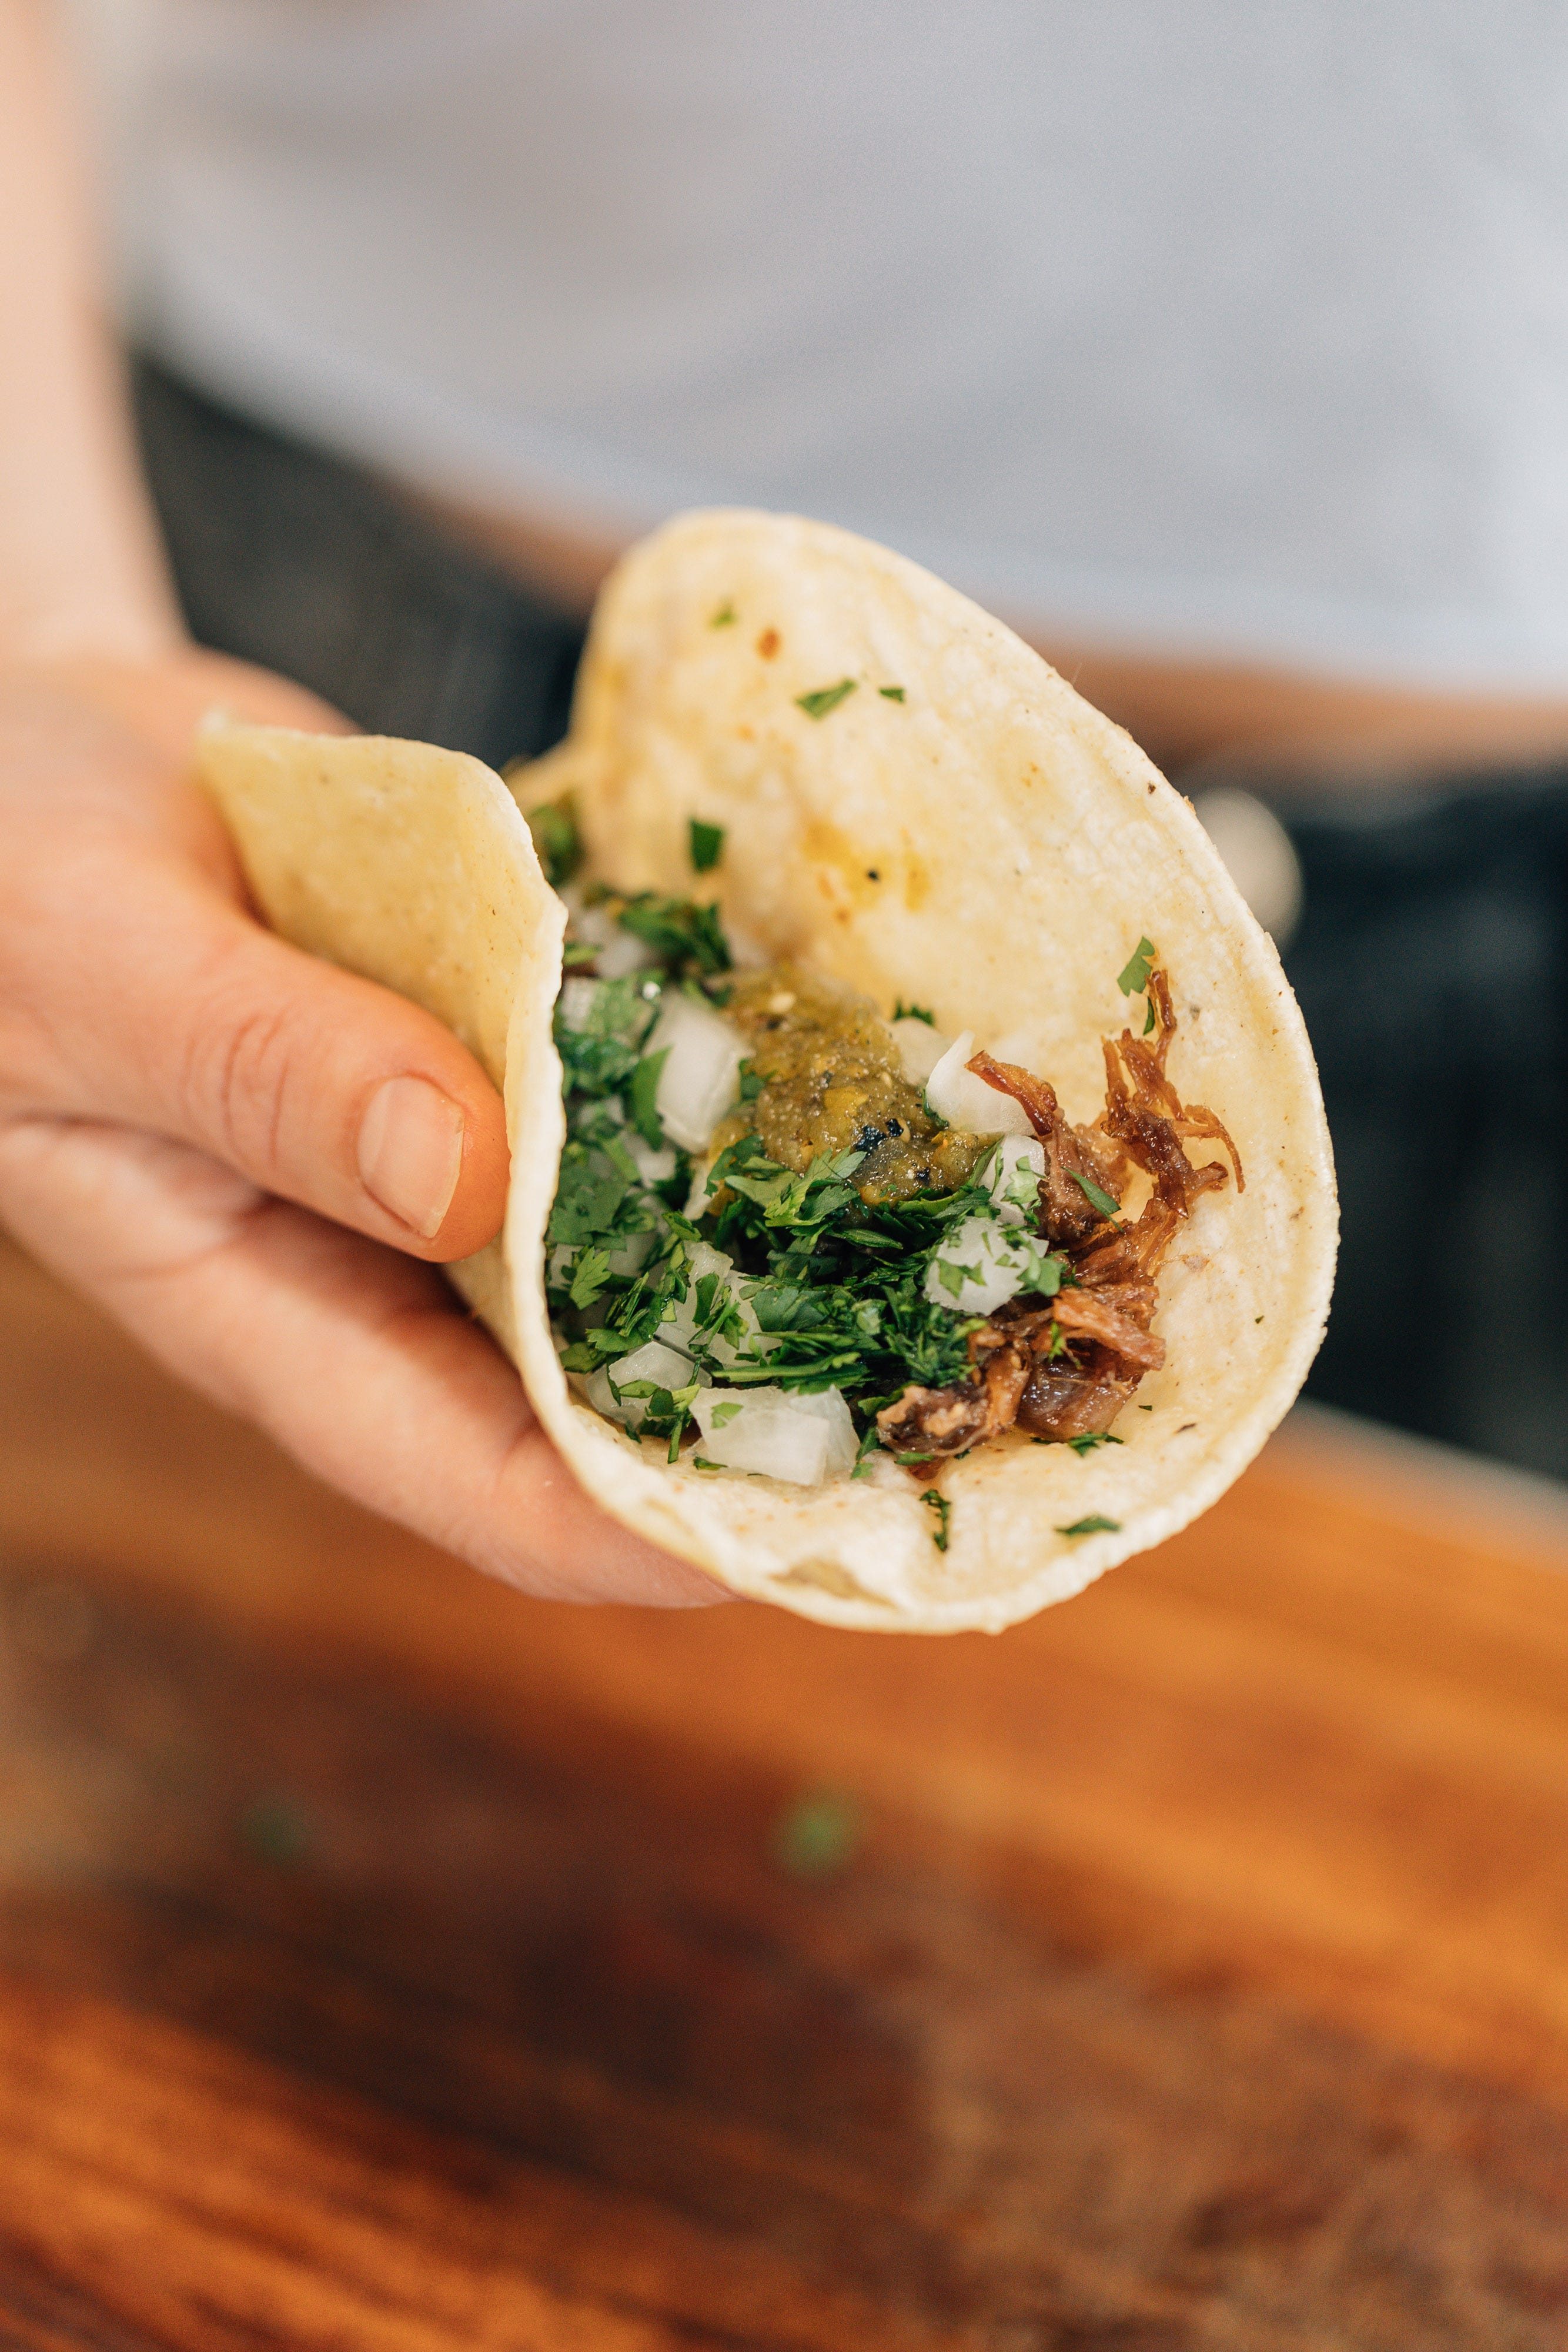
Suadero tacos shot by Phillip Tang for Chicago Meat Collective.
My approach to making a version of Mexican suadero came from having a surplus of beef tallow and a surplus of tough, fatty beef trim. I was saddled with this bounty when I was cutting whole beef for our farmers market stands, and anyone who has done this kind of whole animal butchery is probably familiar with this quandry. People come up with lots of creative solutions to such “problems,” and mine was inspired by a legendary Chicago taco spot, La Chaparrita Grocery in Little Village, or La Villita. There are so many good options on their small menu, and regulars know that their tripe and cabeza tacos deserve all the hype they get. They make their tacos Mexico City-style, in a large charola full of bubbling fats and juices where their longaniza, tripa, suadero, and cebollitas simmer together until tender, before getting chopped and then crisped on the flat top. Their tacos are small and simply finished with cilantro and onion. The tortillas are swiftly dipped in the juices of the charola before they hit the flat top, and three different house-made salsas, along with lime wedges and thin-sliced radishes, dress every table.

A full charola at La Chaparrita, from their facebook page.
The menu at La Chaparrita describes suadero as “boneless chuck,” and I remember when I first read those words and ate the taco, I wondered how it was made. What was “suadero?” From what I could tell, the meat was tender and beefy, unctuous and slightly crisped, but not dry. Given that the description mentioned “chuck,” or beef shoulder, at first I imagined some kind of fatty Mexican pot roast. After some digging, my understanding is that “suadero” refers to a cut of meat as well as to the finished dish, and some youtube research leads me to believe that this cut might come from the muscle that stretches from the belly along the flank of the animal - a tough and lean cut that requires slow cooking. But those same inquiries have revealed that beef belly cuts, beef brisket, and beef shoulder (or chuck, as the Chaparrita menu suggests) all make their way into the charola for suadero with some regularity. When I decided to recreate it, I had already determined I was going to riff on the method and the concept without worrying about the exact muscle that went into traditional suadero, and at the end of the day I think this is in keeping with the spirit of the dish.

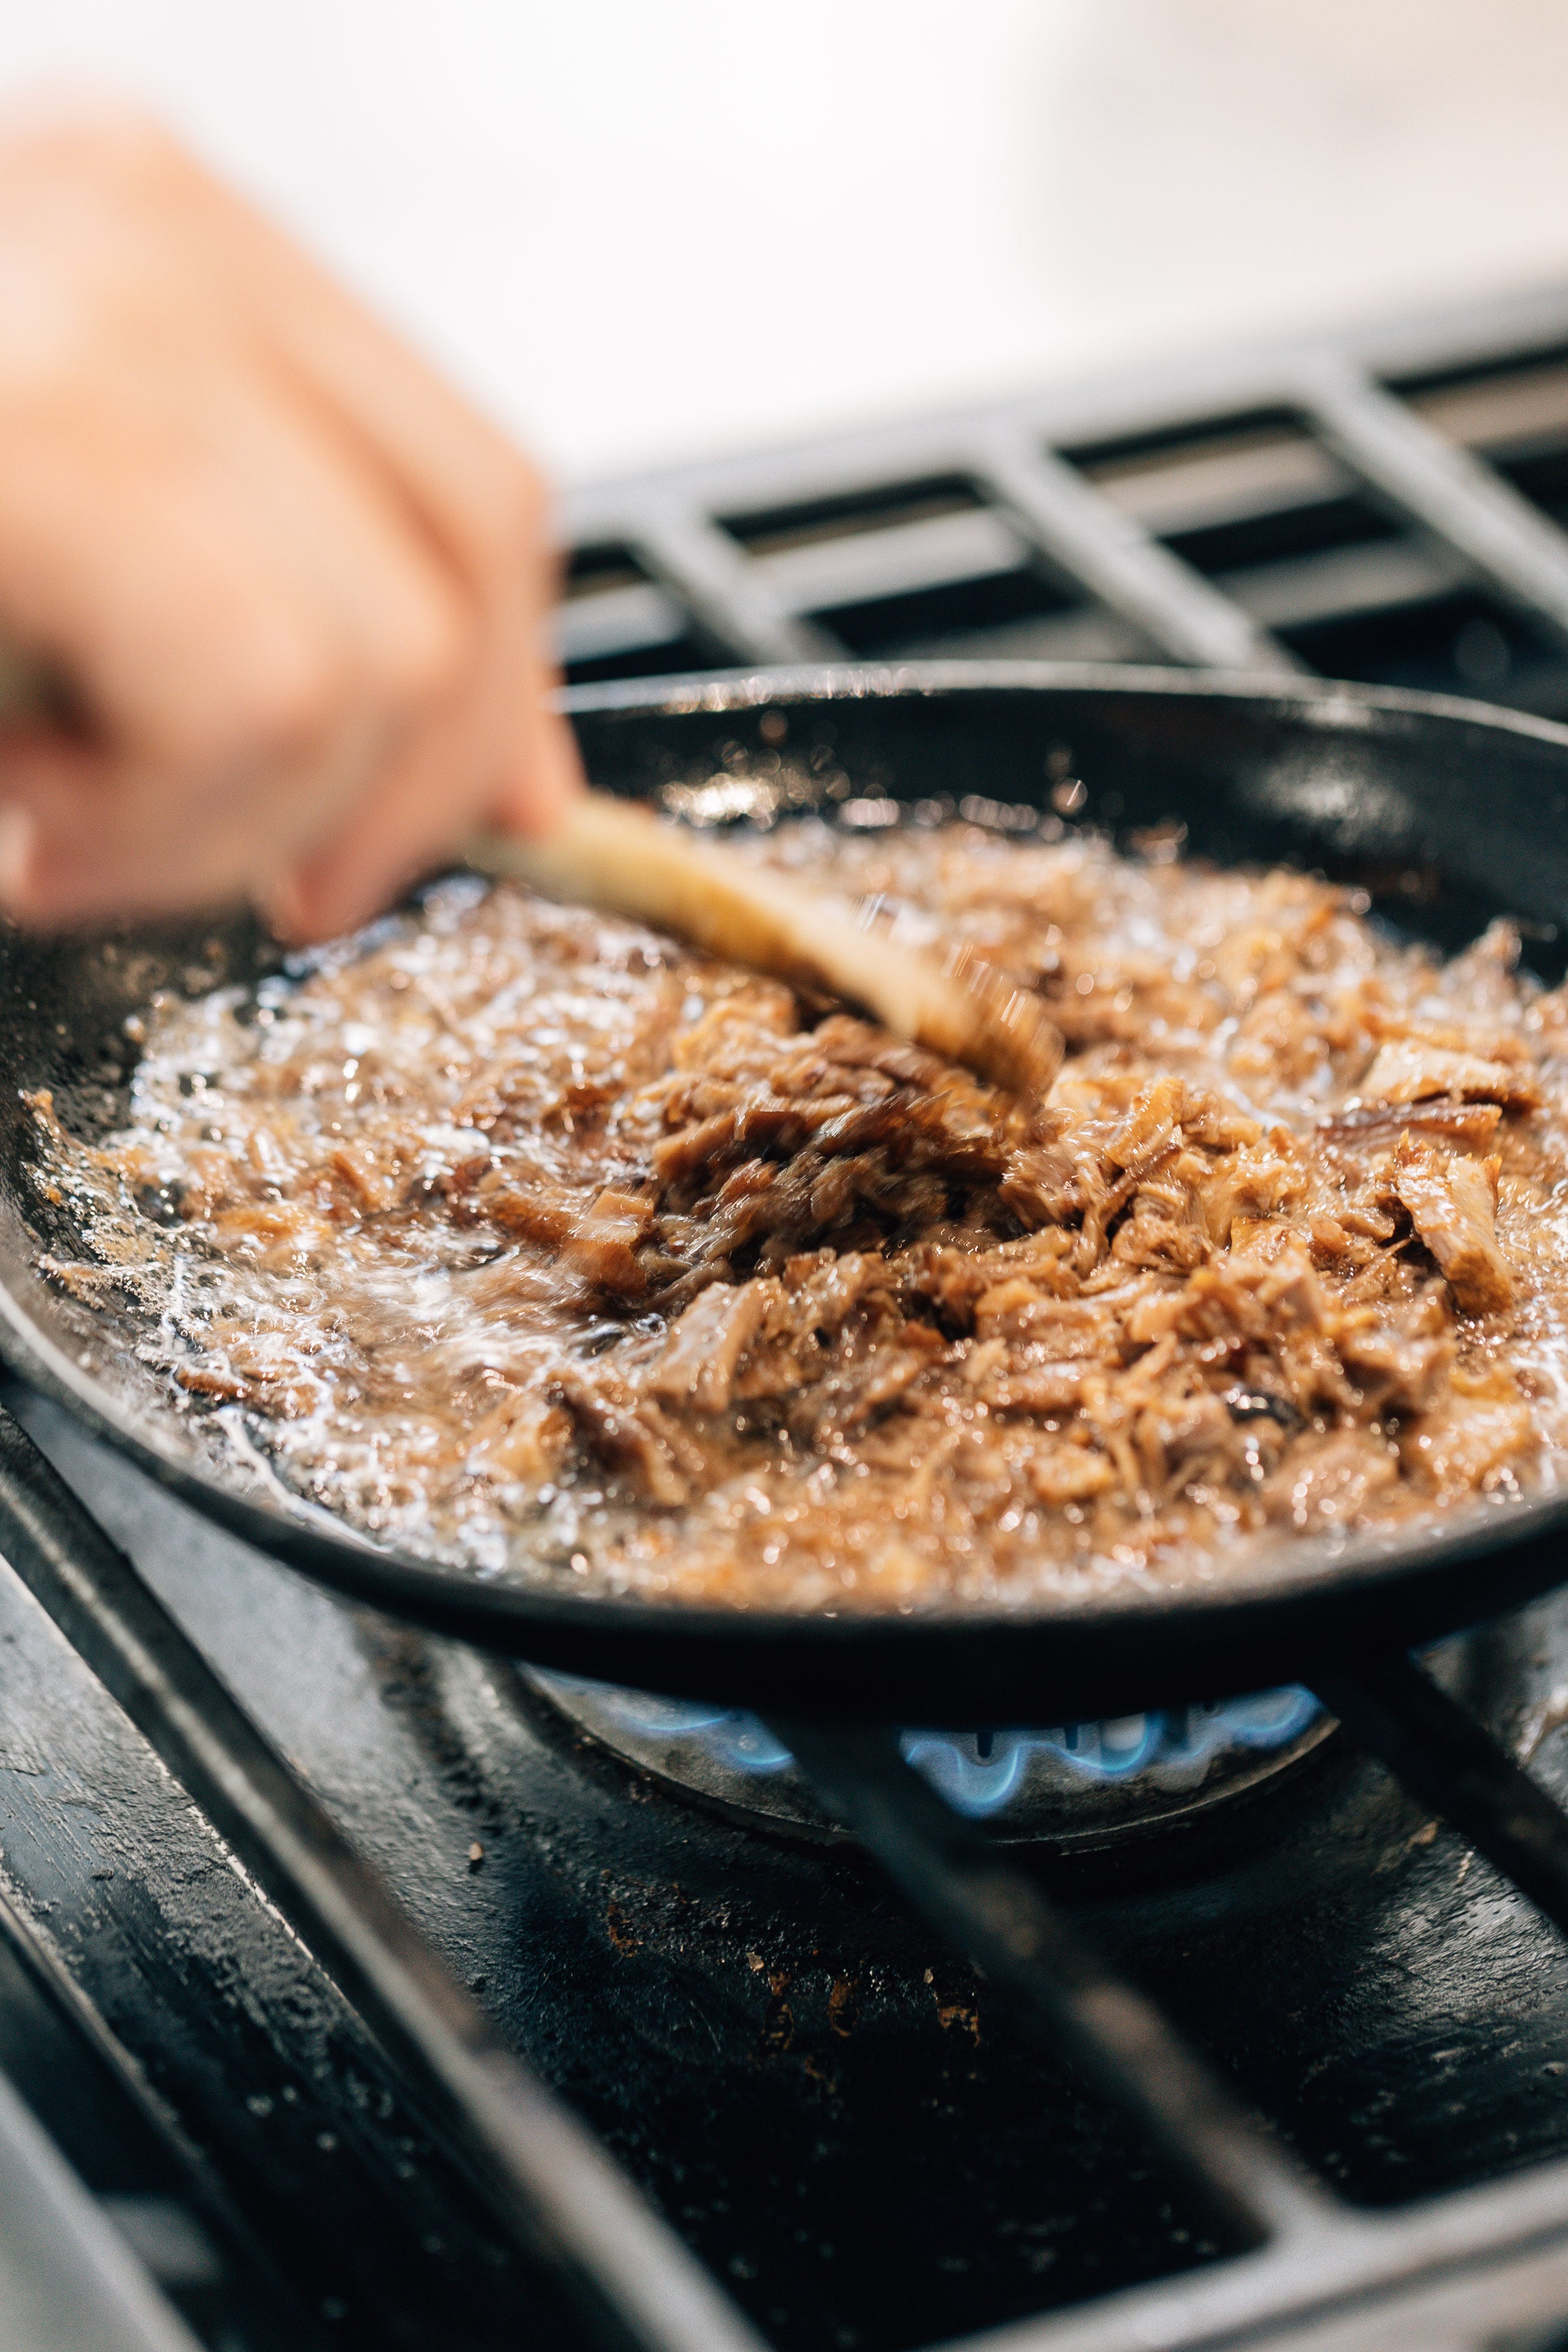
Suadero in a skillet, shot by Phillip Tang for Chicago Meat Collective.
Without further ado, here’s my very simple method for something like Mexico City-style suadero. I hope you’ll try it, because it taps into the primal, satiating goodness of meat and fat. The method is a basic confit, and these principles can be applied to lots of different proteins.
Chicago Meat Collective “Suadero”
Beef brisket, navel, short ribs, or any fatty and tough combination of cuts you have on hand.
1% salt by weight - this recipe is scalable. If you have 1 pound of meat, you need about 4-5 grams of salt. 5 pounds of meat, ~ 20-25g salt. Yes, I recommend Diamond Crystal Kosher salt.
Beef tallow to cover - this is a physics question of displacement that will determine your cooking vessel. You don’t just want the smallest, narrowest *pot you have on hand. You also want one with a heavy bottom and sides that heats evenly and is oven-safe. Figure out how many pounds of beef you’re cooking, then choose a pot, then figure out how much tallow you need to fully cover the beef in your chosen pot.
Aromatics of your choosing - to be honest, I don’t think aromatics do that much here. Will it hurt to throw in a head of garlic, a dried and/or fresh pepper, a stick of cinnamon, a few bay leaves? No, it won’t. So throw them in, make it your own secret recipe, channel a witch with her cauldron. But also know that it will taste amazing if the only ingredients you use are beef, beef fat, and salt.
Time and salt are the first ingredients. Take your chosen cuts of beef, and cut them into ~1” cubes (this will make it easier to get consistent sized shreds in the end product). Measure out 1% salt by weight, and rub it into the cubes of beef. Let them sit covered in the fridge for 1-24 hours (the larger quantity of meat, the longer you can let it sit in fridge).
When ready to cook, you have two options: stovetop and oven. Both start by choosing *the right pot (see above note). Place your chosen pot on the stove over medium high heat, and add the beef tallow. Allow to melt and come to a simmer, but don’t bring to a boil. Add the salted beef, being cautious not to splatter hot tallow. Use a wooden spoon to give the beef cubes a stir, and make sure they are submerged in the liquid tallow. From here:
Stovetop method:
Bring the tallow to a gentle simmer. Leave the pot uncovered, and stir the beef occasionally for about 2 hrs. The suadero is finished when a cube flakes apart when pressed with the wooden spoon or gives easily when prodded with a fork. Cooking time will depend on chosen cut and quantity (tougher cuts take longer, larger quantities take longer). *see below note on doneness.
Oven method:
Set the oven to 275. Once the oven is preheated and the pot on the stovetop has achieved a gentle simmer, place the pot in the oven, uncovered. Stir every 30 mins. The suadero is finished when a cube flakes apart when pressed with the wooden spoon or gives easily when prodded with a fork. Cooking time will depend on chosen cut and quantity (tougher cuts take longer, larger quantities take longer).
*Note on doneness: Keep in mind that you want to cook the cuts of beef until tender, but not til dry or crispy. This is a good opportunity to tune your eyes and ears into bubbles - as meat cooks in fat, water is expelled from the cells of the muscle. When the meat is raw, there is a lot of moisture and the bubbles are a big. As the meat cooks, there is less water being expelled, and the bubbles are smaller, fizzier. Keep an eye on this, and be wary of the tiny, rapid bubbles that signal the meat is starting to fry.
Once tender, use a slotted spoon or sieve to strain the beef from the tallow. As the beef cools, strain the tallow into a container, label it, and keep it for the next time! You can re-use tallow for suadero many times - it just becomes more flavorful, though you may need to add more fat, since some will be absorbed by the final product.
To finish the suadero, allow the beef cubes to cool for a few minutes, then shred them, discarding any tough membranes or big chunks of fat. Add a touch of the cooking fat to keep the suadero moist and help it crisp later on.
To prepare a taco, place a cast iron or non-stick pan over high heat, add a touch of tallow, and then add whatever serving you desire of shreds of beef. Cook til partially crispy (you want some juicy bits too! don’t let it all fry). Remove, then warm/fry your (corn) tortilla(s) in the suadero fat/juices. Stack two tortillas, place a few ounces of crisped suadero in the center, and top with finely diced white onion and torn cilantro. Lime juice, a touch of extra salt, and your favorite salsa should be added to taste.
I like to simmer a big batch of beef in fat til tender, and then freeze it in the tallow. When I’m ready to eat it, you just warm it with a tiny splash of water to help melt the fat, and then let it start to sizzle and crisp.
There’s lots of great info on suadero out there. Netflix brought their popular Taco Chronicles show to Chicago and featured our beloved Chaparrita, along with some other favorites. I also really enjoyed this video from munchies.